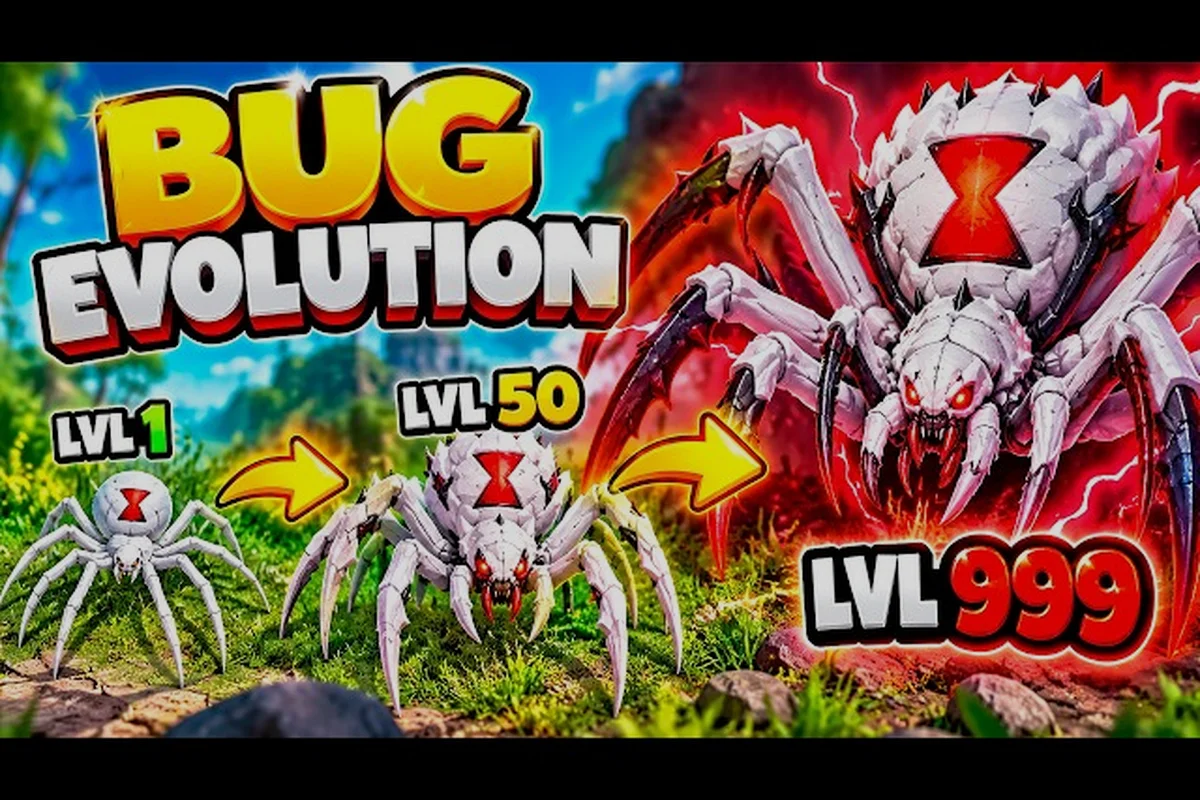
The Bug Evolution map layout determines where food appears, which routes are safest, and how quickly you can scale from a tiny spider into a formidable insect. Learn the key regions, movement patterns, and upcoming cave expansion to hunt with a clearer plan.
Bug Evolution Map Layout at a Glance
The current Bug Evolution map is a compact open world built around several recognizable regions: grass fields, an open field, hills, a stone castle landmark, and a desert area. Mountains and a cave are associated with the game’s broader map references, but the cave is still an upcoming feature rather than part of the available terrain in late October 2026.
Understanding the layout matters because food density changes as you move away from the starter fields. The surrounding routes also determine how much exposure you have to larger insects. A player who knows where prey crosses between zones can build a safer progression route instead of wandering into dangerous terrain.
| Map area | Current status | Main route value | Early-game use |
|---|---|---|---|
| Grass fields | Available | Connects major surface regions | Starter food and respawn |
| Open field | Available | Offers room to maneuver | Mid-sized prey and exploration |
| Bug evolution hills | Available | Links fields with elevated routes | Transition area and hunting |
| Stone castle | Available | Distinct visual landmark | Orientation and nearby cover |
| Desert region | Available | Leads toward planned boss content | Advanced hunting |
| Bug evolution cave | Upcoming | New underground route | Not yet available |
| Mountains | Referenced in map planning | Potential high-elevation route | Treat details cautiously |
The starter fields remain the safest first destination. According to the available map information, small food is densest there, and the area also serves as the respawn point after death. That combination makes it more than a tutorial zone: it is the central anchor for the Bug Evolution map.
For a closer look at food placement and hunting routes, the broader Bug Evolution map guide explains how the spawn area and best hunting spots fit into the open world. The current Bug Evolution maps are small enough that a base spider can cross major regions in roughly a minute or two, although food availability varies by zone.
Recognizing the Main Landmarks
The stone castle is one of the most useful landmarks because the game does not display a complete map overlay. Its silhouette helps players orient themselves while moving between the fields, hills, and desert. The castle also provides cover, making it a practical meeting point when players need to regroup after a risky encounter.
The grass-field starter area offers a different kind of reference point. Its abundant small food makes it ideal for learning basic eating and early evolution, while the surrounding routes create natural choices between safer feeding and more rewarding hunts. Recognizing the castle from a distance can therefore complement the reliable return path to spawn.
What Counts as Confirmed and What Does Not
Public information for the game remains limited, so it is important to separate current features from planned ones. The store information identifies an Underground Cave as a future map addition, while the desert is associated with a scheduled Desert Sand Worm event. Dates can shift when updates actually ship.
| Feature | Evidence level | Practical interpretation |
|---|---|---|
| Grass fields and spawn | Confirmed current area | Begin here and return after defeat |
| Castle landmark | Confirmed current area | Use it as a visual compass |
| Desert region | Confirmed current area | Treat as a later-game route |
| Bug evolution hills | Referenced current terrain | Plan routes through the slope transition |
| Bug evolution mountains | Map reference, limited detail | Do not assume a complete route exists |
| Bug evolution cave | Announced for November 19 | Prepare conceptually, but it is not yet open |
This distinction prevents a common planning mistake: designing a route around the cave before its release. The new map overview separates available terrain from announced additions, including the planned underground entrance.
Bug Evolution Hills, Mountains, and Surface Routes
The Bug Evolution hills serve as the clearest transitional landscape between food-rich fields and more exposed routes. Rather than treating every rise as an isolated objective, players should watch where prey moves through the lower ground. Food that travels between zones creates natural hunting opportunities because players can intercept it before it reaches denser territory.
Elevation also changes travel time. Moving directly uphill may look shorter on the horizon, but changes in speed, visibility, and nearby threats can make it a worse choice. The best route is the one that keeps feeding opportunities close together while providing enough space to react when another insect arrives.
| Route choice | Food reliability | Exposure risk | Best use |
|---|---|---|---|
| Stay inside the grass fields | High for small food | Low to moderate | Learn progression and respawn |
| Cross the open field | Moderate | Moderate | Test larger prey carefully |
| Use the field-to-hills edge | Moderate to high | Moderate | Chain short hunts |
| Circle through the castle approach | Moderate | Moderate | Recover and navigate |
| Push into the desert | Lower and less predictable | High | Seek advanced targets |
A practical rule is to preserve a food buffer before entering the Bug Evolution hills. Community experience suggests that dense-food crossings are stronger hunting grounds than isolated patches, particularly where the fields meet the slope. Filling the early progression bar here reduces the need to stop in exposed areas later.
Choosing Between Direct and Curved Travel
A direct path makes sense when the destination is clear and the surrounding route is empty. Otherwise, a curved approach can create better feeding opportunities because it passes through more of the playable surface. Players can compare the two options by food value, travel time, and threat exposure rather than relying on distance alone.
The distinction becomes more important around the castle. Since the castle is a strong orientation point, circling it may help a new player confirm direction before continuing toward the hills. Experienced players can use the same landmark to establish a repeatable hunting loop: spawn fields, field edge, castle approach, then return.
When to Avoid the Map Edge
The outer edges are generally less forgiving for a small or mid-sized insect. Food may be less predictable, while nearby larger creatures can trap a player against the boundary. The map is small, so reaching an edge rarely saves meaningful time; maintaining a safe center route is usually more valuable.
Players should avoid treating the mountain references as a guaranteed high-level hunting zone. Available descriptions do not provide a detailed, authoritative route breakdown for a fully accessible mountain system. Until the game presents clearer landmarks or release information, treat this as a future planning term rather than a confirmed destination.
Bug Evolution Grass Fields and Open-Field Hunting
The grass fields remain the foundation of efficient early progression because starter food is concentrated there. The area is easy to learn, close to spawn, and forgiving when a player is still discovering the eating and evolution loop. This makes it preferable to rushing toward more difficult insects before the insect can reliably survive a sequence of fights.
Building a Safe Feeding Route
Start with small food close to the respawn point, then expand the loop only after the player can handle nearby threats. The first goal is not to traverse the world; it is to create a dependable sequence of meals. A short, successful loop is better than a long route that ends in a risky encounter with an empty hunger meter.
| Progression stage | Preferred route | Food target | Main concern |
|---|---|---|---|
| Newly hatched | Immediate spawn surroundings | Dense small food | Learning controls |
| Early insect | Wider grass fields | Small and medium food | Avoiding larger hunters |
| Mid-game | Field edge and open field | Medium food | Maintaining health |
| Established insect | Castle approach and desert fringe | Larger prey | Route danger |
| Late-stage | Desert or event routes | Highest available targets | Strong opposition |
The respawn advantage of the grass fields cannot be overstated. If death sends the player back to the starter area, nearby food turns a setback into a rapid recovery route. This makes the fields operationally valuable even after the first evolution stages, particularly for players who need to rebuild quickly.
Open-Field Movement
The open field offers more maneuvering room than the starter patch, which can be useful when chasing prey or avoiding a stronger insect. However, the larger sightlines also reveal movement to nearby enemies. Players should approach it in stages, using field edges as launch points rather than crossing the center at random.
A good technique is to rotate around several landmarks instead of repeating one straight line. Variety makes it harder for larger insects to cut off the route, while the castle and the transition into the hills can still keep movement understandable. The grass-fields area reference provides more detail on how the open field, castle, desert, and map edge relate to one another.
Food Density Versus Travel Distance
Dense food is valuable, but it is not automatically the best destination. If the nearest patch lies beyond several risky crossings, collecting two smaller meals in the starter region can produce more progress than one distant meal followed by an escape. Route efficiency includes the time spent recovering, not only the time spent eating.
| Metric | Grass fields | Open field | Hills | Desert |
|---|---|---|---|---|
| Small-food availability | Highest | Variable | Variable | Uncertain |
| Travel length from spawn | Short | Medium | Medium to long | Long |
| Visibility | Limited | Wide | Layered slopes | Broad |
| Best progression stage | Early | Early to mid | Mid | Advanced |
Bug Evolution Map Navigation Without a Full Overlay
Because the Bug Evolution map does not provide a complete overhead overlay, navigation depends on visual landmarks, regional cues, and learned routes. This is not merely a cosmetic limitation. It changes how players read the environment: the shape of the land, visible structures, and direction of travel become the map.
Building a Mental Orientation System
Use three anchors: the starter fields as the home point, the castle as the central landmark, and the desert as the outward edge. Hills then serve as connecting terrain between the safe center and more exposed routes. This simple system is enough to estimate location without a screen map and prevents most unnecessary detours.
| Known landmark | Direction clue | Player decision supported |
|---|---|---|
| Castle silhouette | Large stone structure | Choose a route toward the center |
| Grass-field texture | Dense low vegetation | Return toward spawn or feed safely |
| Open-field spacing | Broad, less cluttered ground | Prepare for longer pursuits |
| Hills | Visible slope or rise | Take a transitional route |
| Desert | Sand-colored terrain | Commit to advanced travel |
The Bug Evolution map layout becomes much easier to remember after two or three complete circuits. The first lap teaches where the landmarks sit; the second tests travel time; the third allows a player to connect food clusters into an efficient hunting circuit. Repetition builds a practical mental map without requiring a separate interface.
Reverse Navigation After a Fight
After a successful hunt, avoid sprinting directly back to spawn unless the meal is urgent. Instead, identify the next nearby food cluster and return to the route afterward. This preserves momentum and reduces the amount of open terrain crossed twice. If health is low, however, the respawn route becomes the priority because the starter fields offer the most dependable recovery supply.
A useful rule is to remember three landmarks for every trip: departure point, middle reference, and return reference. The castle often works as the middle anchor. This simple checkpoint system prevents confusion when moving between the grass fields, Bug Evolution hills, and desert with no minimap.
Using Elevation and Visibility
Higher ground offers a wider view, but it also exposes movement across the map. A hill crest can be useful for checking whether the castle is visible or whether a route toward the desert is crowded. Staying slightly below the crest may keep the player less conspicuous while preserving enough visibility to navigate.
Bug Evolution mountains may eventually provide stronger elevation cues, but the current public information does not establish how they function. Until an official update clarifies access, players should rely on confirmed landmarks and avoid building a route around an assumed mountain shortcut.
Upcoming Bug Evolution Cave and Planned Route Changes
The Bug Evolution cave is an announced underground map scheduled in the public event schedule for November 19, 2026. It was not available in the open build as of the October 30 snapshot. That distinction matters because players can prepare for a cave-centered route without treating it as current terrain.
What the Cave Announcement Confirms
The event schedule confirms the name and planned opening window of the underground area. It does not provide enough verified detail to describe exact entrances, enemy density, food placement, or connection points with the surface. The safe conclusion is that the Bug Evolution cave will expand the map, not that it will immediately replace the current hills, fields, or desert.
| Question | Current answer | Confidence |
|---|---|---|
| Is the cave open now? | No, it is announced for November 19 | High |
| Will it change surface routes? | Likely to alter route planning, but exact links are unverified | Medium |
| Can players reach it from the castle? | Not confirmed | Low |
| Is it the best hunting zone after release? | Not confirmed | Low |
| Should current routes target it? | No; use existing landmarks | High |
Preparation should focus on flexible objectives rather than a fixed cave entrance. Keep enough capacity for new food sources, preserve a route back to the grass fields, and avoid spending every meal on travel. Once the cave opens, test its connections from the nearest known surface area before committing to a longer underground loop.
The underground cave update reference tracks the announced November arrival and distinguishes current build information from scheduled content. This is particularly important for teams that organized routes around the existing open world.
Desert Sand Worm and the Surface Plan
The desert is already part of the current world, while the Desert Sand Worm is scheduled for November 9. This boss connection may change how players approach desert edges after the update, but it does not change the cave’s release status. Treat the two announcements separately when planning progression.
The desert itself is a practical destination for advanced insects because it lies farther from the starter fields and is associated with harder content. Its broader position can be learned through the castle and surrounding landmarks. Once boss-related activity arrives, players should observe the entrance area before repeated runs, since exact spawn conditions and attack patterns may be tuned later.
Preparing a Flexible Progression Plan
A resilient plan needs three layers: a safe feeding base, a middle hunting circuit, and an optional challenge route. The grass fields form the base, the hills and castle approach form the circuit, and the desert or future cave supplies challenge content. This structure remains useful even if the cave opens with different entrances than expected.
| Route layer | Purpose | Food dependency | Change after cave release |
|---|---|---|---|
| Safe feeding base | Recovery and early growth | Small food in grass fields | Should remain stable |
| Middle hunting circuit | Reliable mid-game progress | Field edges and hills | May gain shortcuts |
| Optional challenge route | High-risk rewards and events | Desert or cave | Requires fresh testing |
Practical Bug Evolution Map Strategy by Player Stage
The best route changes as an insect grows. A newly hatched spider should remain near the starter fields, while an established insect can use the full surface network. The mistake is treating one route as best for every form. Larger prey may justify longer travel, but only after the player has enough food efficiency and combat confidence to handle delays.
New Player: Learn the Center
Remain near the spawn point and identify the grass-field boundaries. Eat small food consistently, watch how the evolution path advances, and learn where the castle appears from different angles. The goal is to learn the map without turning every trip into a resource gamble.
| New-player objective | Best area | Reason |
|---|---|---|
| Fill the early hunger meter | Starter fields | Dense and nearby food |
| Learn combat timing | Field perimeter | Fewer targets than the desert |
| Identify a landmark | Castle sightline | Recognizable stone structure |
| Recover after defeat | Spawn surroundings | Respawn point remains close to food |
Mid-Game Player: Chain the Crossings
Move between the field edge, Bug Evolution hills, and castle approach. These zones allow a player to gather several meals without committing to the longest journey to the desert. Use the castle as the midpoint of a loop and vary the entry angle so one route does not become predictable.
Advanced Player: Test the Outer Routes
The desert is the strongest confirmed advanced destination in the current map. Enter with an adequate food buffer and use the castle as a last reliable orientation point. If the Desert Sand Worm arrives as planned, treat the first attempts as observation sessions and record where the encounter occurs.
Team Play: Assign Landmarks Instead of Exact Coordinates
Teams can divide responsibilities by region because every player may understand the same landmark differently. One player can watch the fields while another checks the hills, with the castle used as the meeting reference. This avoids the false precision of trying to describe exact coordinates that are not displayed.
| Role | Region responsibility | Main task |
|---|---|---|
| Starter | Grass fields | Maintain food supply and respawn support |
| Route scout | Hills and field edge | Identify prey movement |
| Landmark runner | Castle approach | Gather mid-tier food |
| Challenge specialist | Desert | Prepare for stronger targets |
Frequently Asked Questions
Is the Bug Evolution cave available in the current game?
No. As of October 30, 2026, the underground cave is an announced map scheduled for November 19 rather than an accessible region. The current world includes the grass fields, open field, hills, castle landmark, and desert, so players should build routes around those established landmarks until the cave update launches.
Where should a new player hunt in Bug Evolution?
The grass fields around the spawn point are the best starting area because small food is densest there and respawning returns the player nearby. Players should learn the eating and combat loop before moving toward the open field or the Bug Evolution hills, where larger insects and longer travel times add risk.
Are Bug Evolution mountains fully mapped?
Detailed mountain routes are not confirmed in the available public information. Players can treat mountains as a broader map reference, but the safest navigation plan relies on verified landmarks such as the castle, grass fields, hills, and desert. This prevents a route from depending on terrain access or shortcuts that may not be available.
Should players use the castle for navigation?
Yes. The stone castle is one of the clearest landmarks in the Bug Evolution map layout because it rises above nearby ground and can be seen from multiple directions. It also provides cover and marks a central reference point between the starter fields, the Bug Evolution hills, and the route toward the desert.
How should players prepare for the Bug Evolution cave update?
Keep progression flexible, maintain a strong food supply in the grass fields, and avoid assuming a specific cave entrance. The November 19 release may alter route efficiency, but its exact connections, enemy distribution, and food availability were not verified in the current build, so those details should be tested after the update ships.